Introduction
If you already have a wallet address, skip to the minig part here
Cryptocurrencies are trustless systems, so to work we use math, that way all parties can trust (or check) the math and not each other. This math is hard, but its valuable for the network because it validates all the transactions, this is why solving the math problems is incentivized by creating new coins, which are paid to whoever solves them correctly. This is called mining.
In this tutorial, we’ll see how to mine using specialized software called xmr-stak-rx. You can watch this tutorial in video format too:
Requirements:
Monero Wallet
First and foremost, we need somewhere to get paid. In crypto terms this is called a wallet address. So I’ll go ahead and download the official wallet from https://web.getmonero.org/downloads/ page and get the version for my system (in this case, Windows 10).
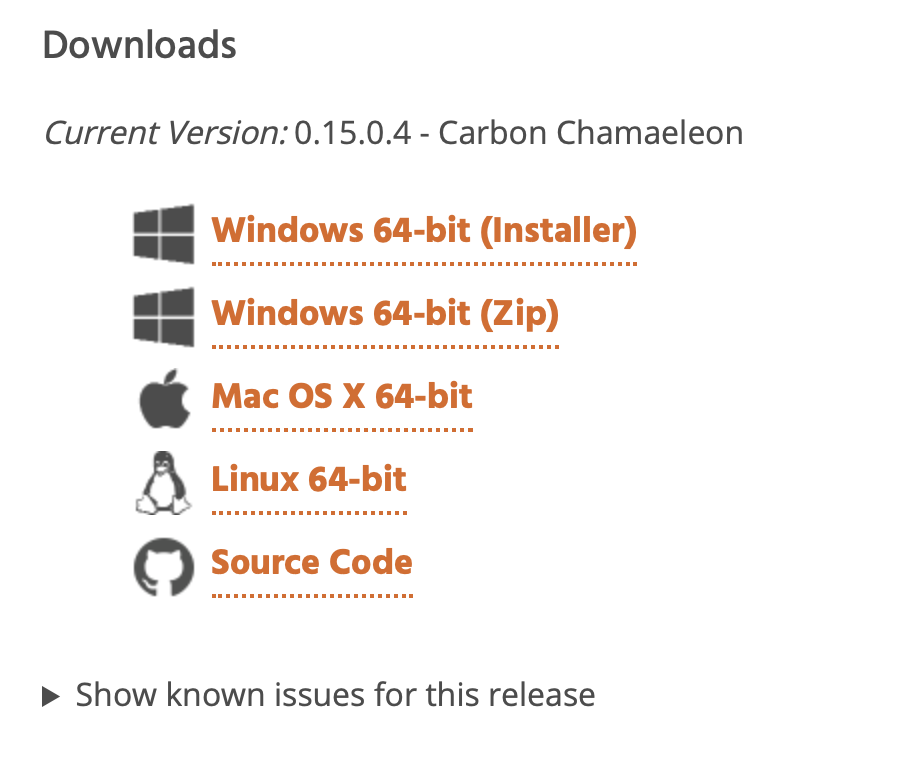 getMonero Downloads site
Once downloaded, it’s highly recommended that you verify the download by following this tutorial
So the official Monero GUI looks like this:
 Monero GUI
Go ahead and press receive, this page will show you a QR code and a long string, this is your wallet address, copy it somewhere, or leave the wallet open as we’ll use it in a bit.
Mining Pool
Over the years, mining has been increasingly difficult to profit, as you compete against the whole world for a set reward, this is why we join with others and share the reward, a.k.a pool mining.
Places to find a pool:
- Search Monero & MoneroMining subreddits
- Monero.org’s Pool List
- Mining Pool Stats’ List
- You can always Google It
In my case I’ll be using SupportXMR, which looks like this:
 SupportXMR
Generally, What you want is to find their help/getting started section, as this is where the pool’s URL and available ports will be shown.
Pool Settings
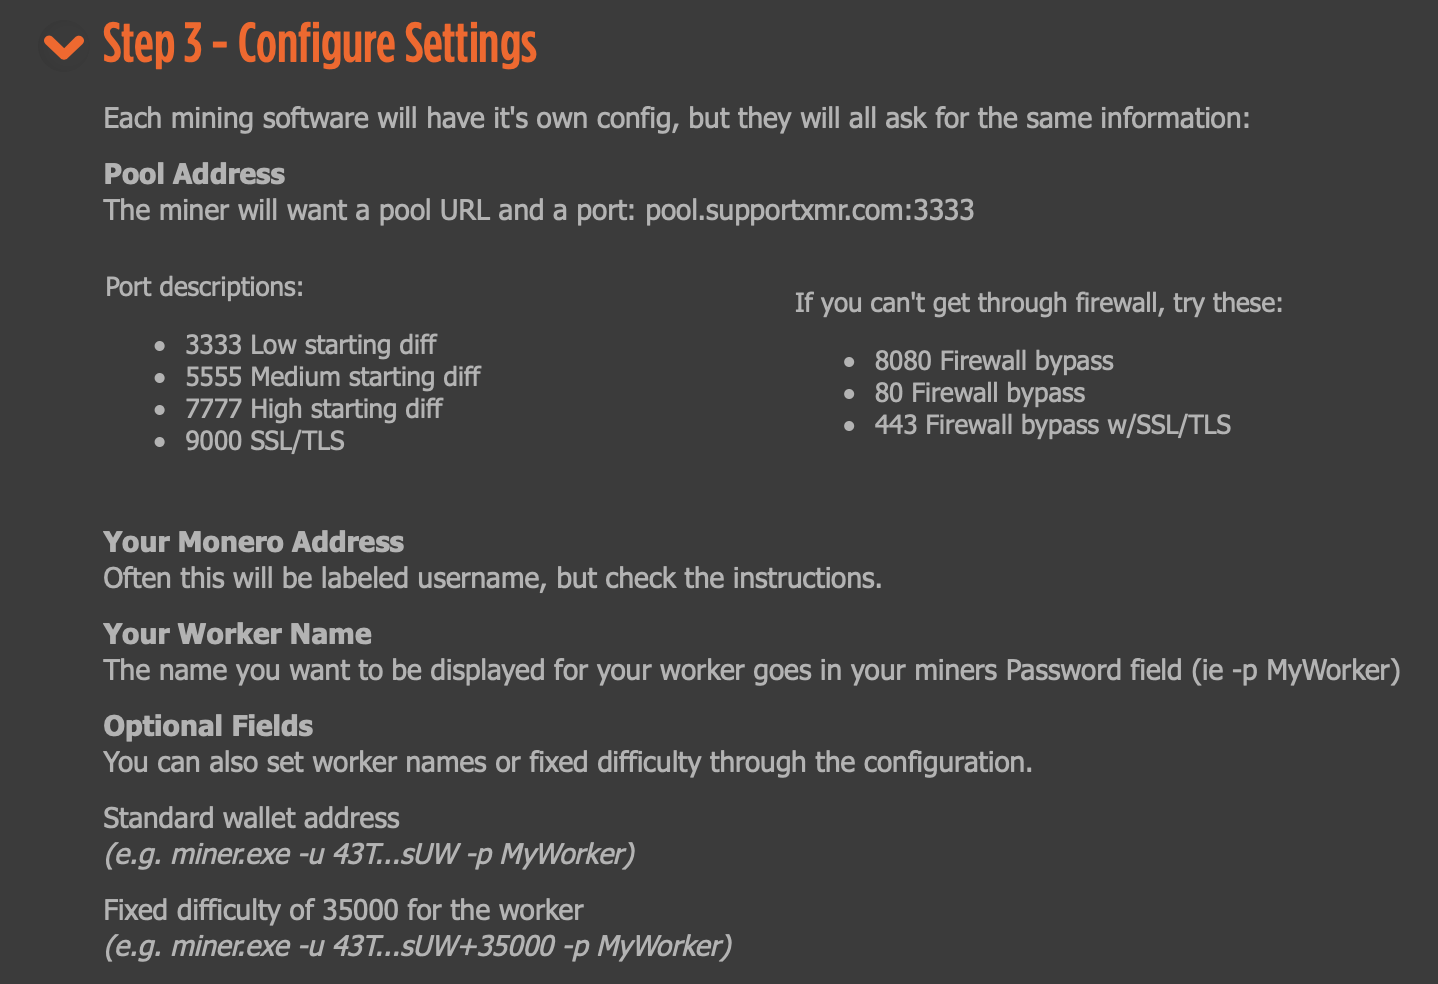 SupportXMR Ports
I’ll be selecting the lowest diff port 3333, when in doubt, use the lowest. Also note some ports have specific functions or features, in this case port 9000 supports SSL/TLS (don’t worry if you dont know what that means). What you want is to build a string which has the-pool-url:the-pool-port so for me it’d be:
pool.supportxmr.com:3333
XMR-Stak-RX
Download
Now that we have all the required pieces, it’s time to download the mining software!
We’ll go to FireIce’s xmr-stak-rx releases page and download the Windows version.
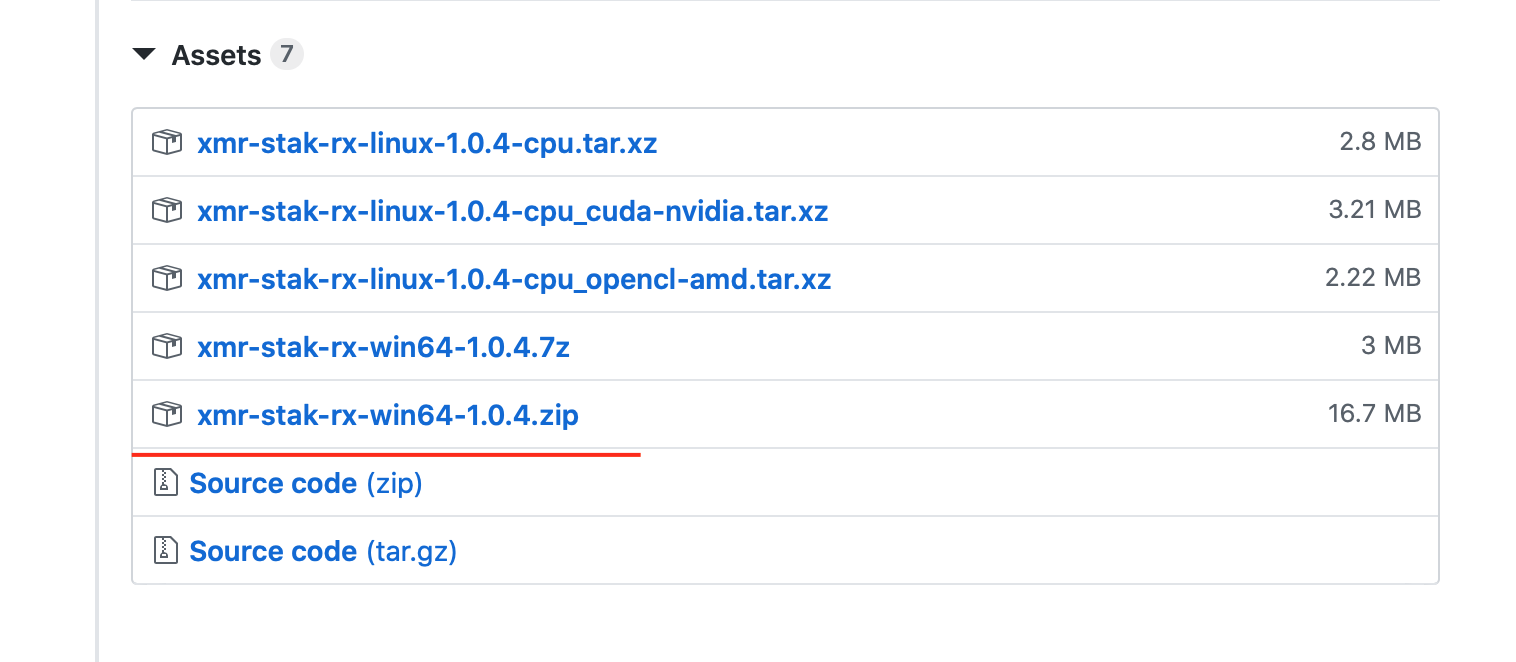 xmr-stak releases page
Setup
To run this, you need to extract it, so get it out of the zip folder and place it somewhere you like. In the video tutorial I use my Desktop, but it could be anywhere else like your Documents folder.
Now browse to the folder, and open the only Application (.exe) file, by default it’s called xmr-stak-rx.exe. The miner will now start the walthrough process where it’ll ask us all our previously aquired details/settings.
Antivirus Warning
Downloading xmr-stak might make your Antivirus go crazy, don’t worry I’ts not virus, this is because hackers use this same software as a way to profit from hacked computers. Just search for whitelist instructions from your antivirus provider.
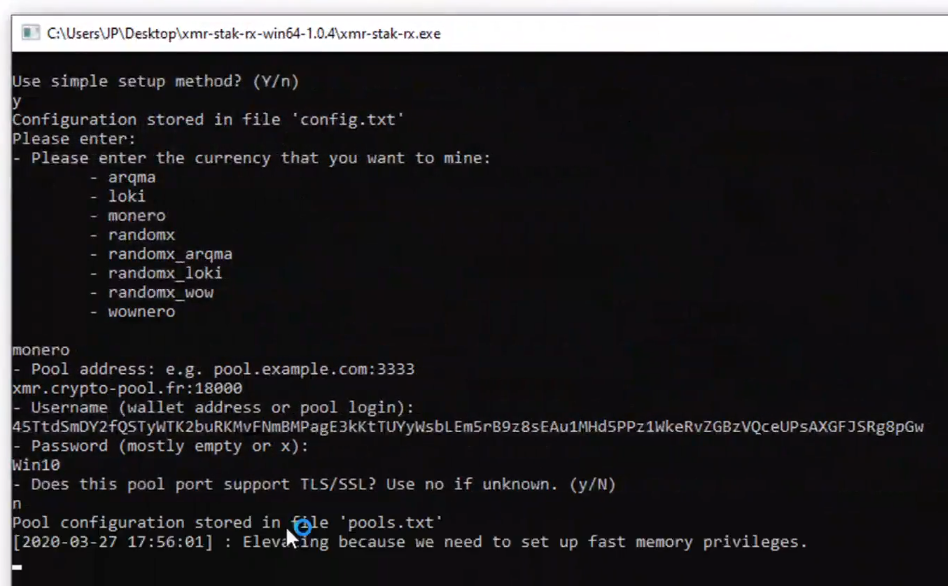 My xmr-stak Configuration, Note pool and port are not the tutorial’s
Done!
Once you finish the walthrough, xmr-stak will start mining! To stop it, just close the window and to restart it just click the .exe again and it’ll pickup your past settings.
Faster startup with BAT Script
(Optional)
Browse to the folder that contains the miner .exe, then click the location bar and copy the path.
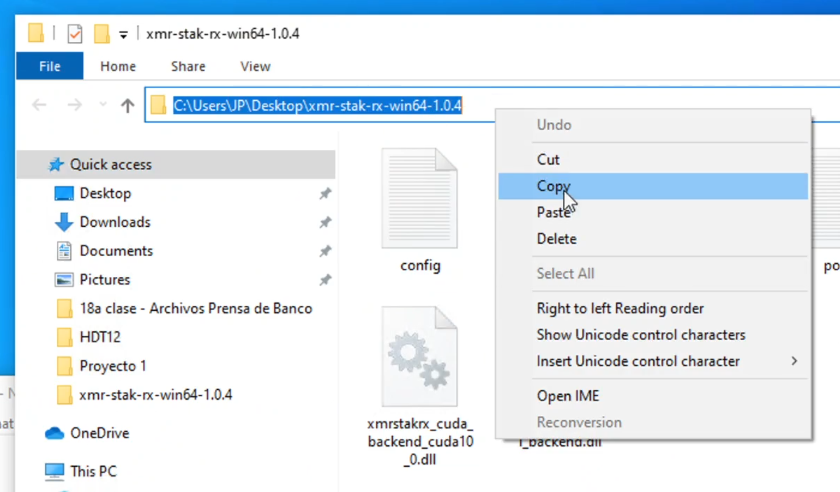 Copy path from window
Now open up Notepad and paste it in a new text file, then append the .exe like so:
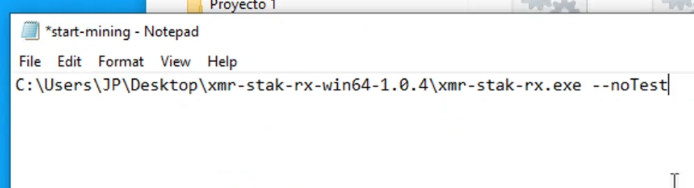 Notepad file with path to exe
As you can see, I added a special setting --noTest, this tells xmr-stak to skip the self test and go straight into mining.
Finally, save this file anywhere you want, but set the file extension to .bat
 Save as BAT
Now, instead of clicking the xmr-stak exe directly, you can use the custom script which will skip the self test and go right into mining!
Good Luck!