Introduction
There’s only two kind of people: those who have backups and those who will have backups. Which one are you?
In the modern world there are so many tools and technologies to our disposition that we often forget just how often everything fails, it’s not wether something will fail or not but when will it fail.
Just last year, two major events showed that even the best aren’t immune to the eventual technological failures. First, high congestion in US-East area caused a Google Cloud outage which brought down Youtube, Snapchat, Shopify and others. Then, only a month later, gigantic CDN and proxy provider Cloudflare mistakenly pushed a WAF rule that consumed all their CPUs resulting in worldwide outages.
Most likely, you and me have less redunancy than Google or Cloudflare, so our chances of something fatal happening to our servers or our data are magnitudes greater, therefore our backups are much more valuable by the same orders of magnitude.
Assumptions
- This tutorial was made in/for Ubuntu 18.04.3 LTS
- We’ll be backing up Wordpress (WordOps) & MySQL installations
- You are not afraid to use the command line.
Installation
Fire up a shell, first we’re gonna download duplicati from https://www.duplicati.com/download, Duplicati is multiplatform so you could also skip the Ubuntu steps and go straight to Duplicati Setup.
Download duplicati from debian/ubuntu link using wget
wget https://updates.duplicati.com/beta/duplicati_2.0.5.1-1_all.deb
Install MONO
Duplicati is written in .NET framework, so we’ll install mono package from their official repository. This takes some time
# Add repository PGP key
sudo apt-key adv --keyserver hkp://keyserver.ubuntu.com:80 --recv-keys 3FA7E0328081BFF6A14DA29AA6A19B38D3D831EF

# Add mono's official repo to /sources.list.d
echo "deb https://download.mono-project.com/repo/ubuntu stable-bionic main" | sudo tee /etc/apt/sources.list.d/mono-official-stable.list

# Update from our fresh repo
sudo apt update

# Install mono & other deps.
sudo apt install mono-devel gtk-sharp2 libappindicator0.1-cil libappindicator1 libdbusmenu-glib4 libdbusmenu-gtk4 libindicator7 libmono-2.0-1
Install Duplicati deb
Our next step is to install the duplicati deb, this first time will fail, but will tell apt about the required dependencies.
# Install using DPKG
sudo dpkg -i duplicati_2.0.5.1-1_all.deb
At this point we’re done installing Duplicati, next we’ll setup a systemd service so we can make it start automatically.
Create Systemd service
Make sure your /lib/systemd/system/duplicati.service looks like this, and is owned by root.
[Unit]
Description=Duplicati daemon and web-server
After=network.target

[Service]
Nice=19
IOSchedulingClass=idle
EnvironmentFile=-/etc/default/duplicati
ExecStart=/usr/bin/duplicati-server $DAEMON_OPTS
Restart=always

[Install]
WantedBy=multi-user.target
The only thing left to do is to start it
# Start the service
sudo service duplicati start

# Check it's running by doing
sudo service duplicati status
In my case, status shows:
● duplicati.service - Duplicati web-server
   Loaded: loaded (/lib/systemd/system/duplicati.service; disabled; vendor preset: enabled)
   Active: active (running) since Sun 2020-03-22 19:34:25 MDT; 2s ago
 Main PID: 56770 (mono)
    Tasks: 16 (limit: 9830)
   CGroup: /system.slice/duplicati.service
           ├─56770 DuplicatiServer /usr/lib/duplicati/Duplicati.Server.exe
           └─56774 /usr/bin/mono-sgen /usr/lib/duplicati/Duplicati.Server.exe

Mar 22 19:34:25 ubuntu systemd[1]: Started Duplicati web-server.
MySQL binary log (Optional)
The MySQL binlog is a record of all the changes done to the database, it includes very useful tools like restoring to a specific point in time, or even to a specific SQL query. Check my other post on how to enable it, then come back so we can backup that folder too.
Configuration
Now, to access the web server we need to do some port forwarding, the Duplicati configuration server is only available locally for security reasons. For that we’ll logout from ssh and login using some special flags:
ssh -L 1234:localhost:8200 DW
This command means that your computer’s port 1234 will be forwarded to localhost:8080 in the remote machine, you can change this first number (1234) to anything you want.
In this case DW is the host I’m connecting to, in your case it might look like root@190.160.1.123 I’ll make a blog post on how to setup alias for your hosts.
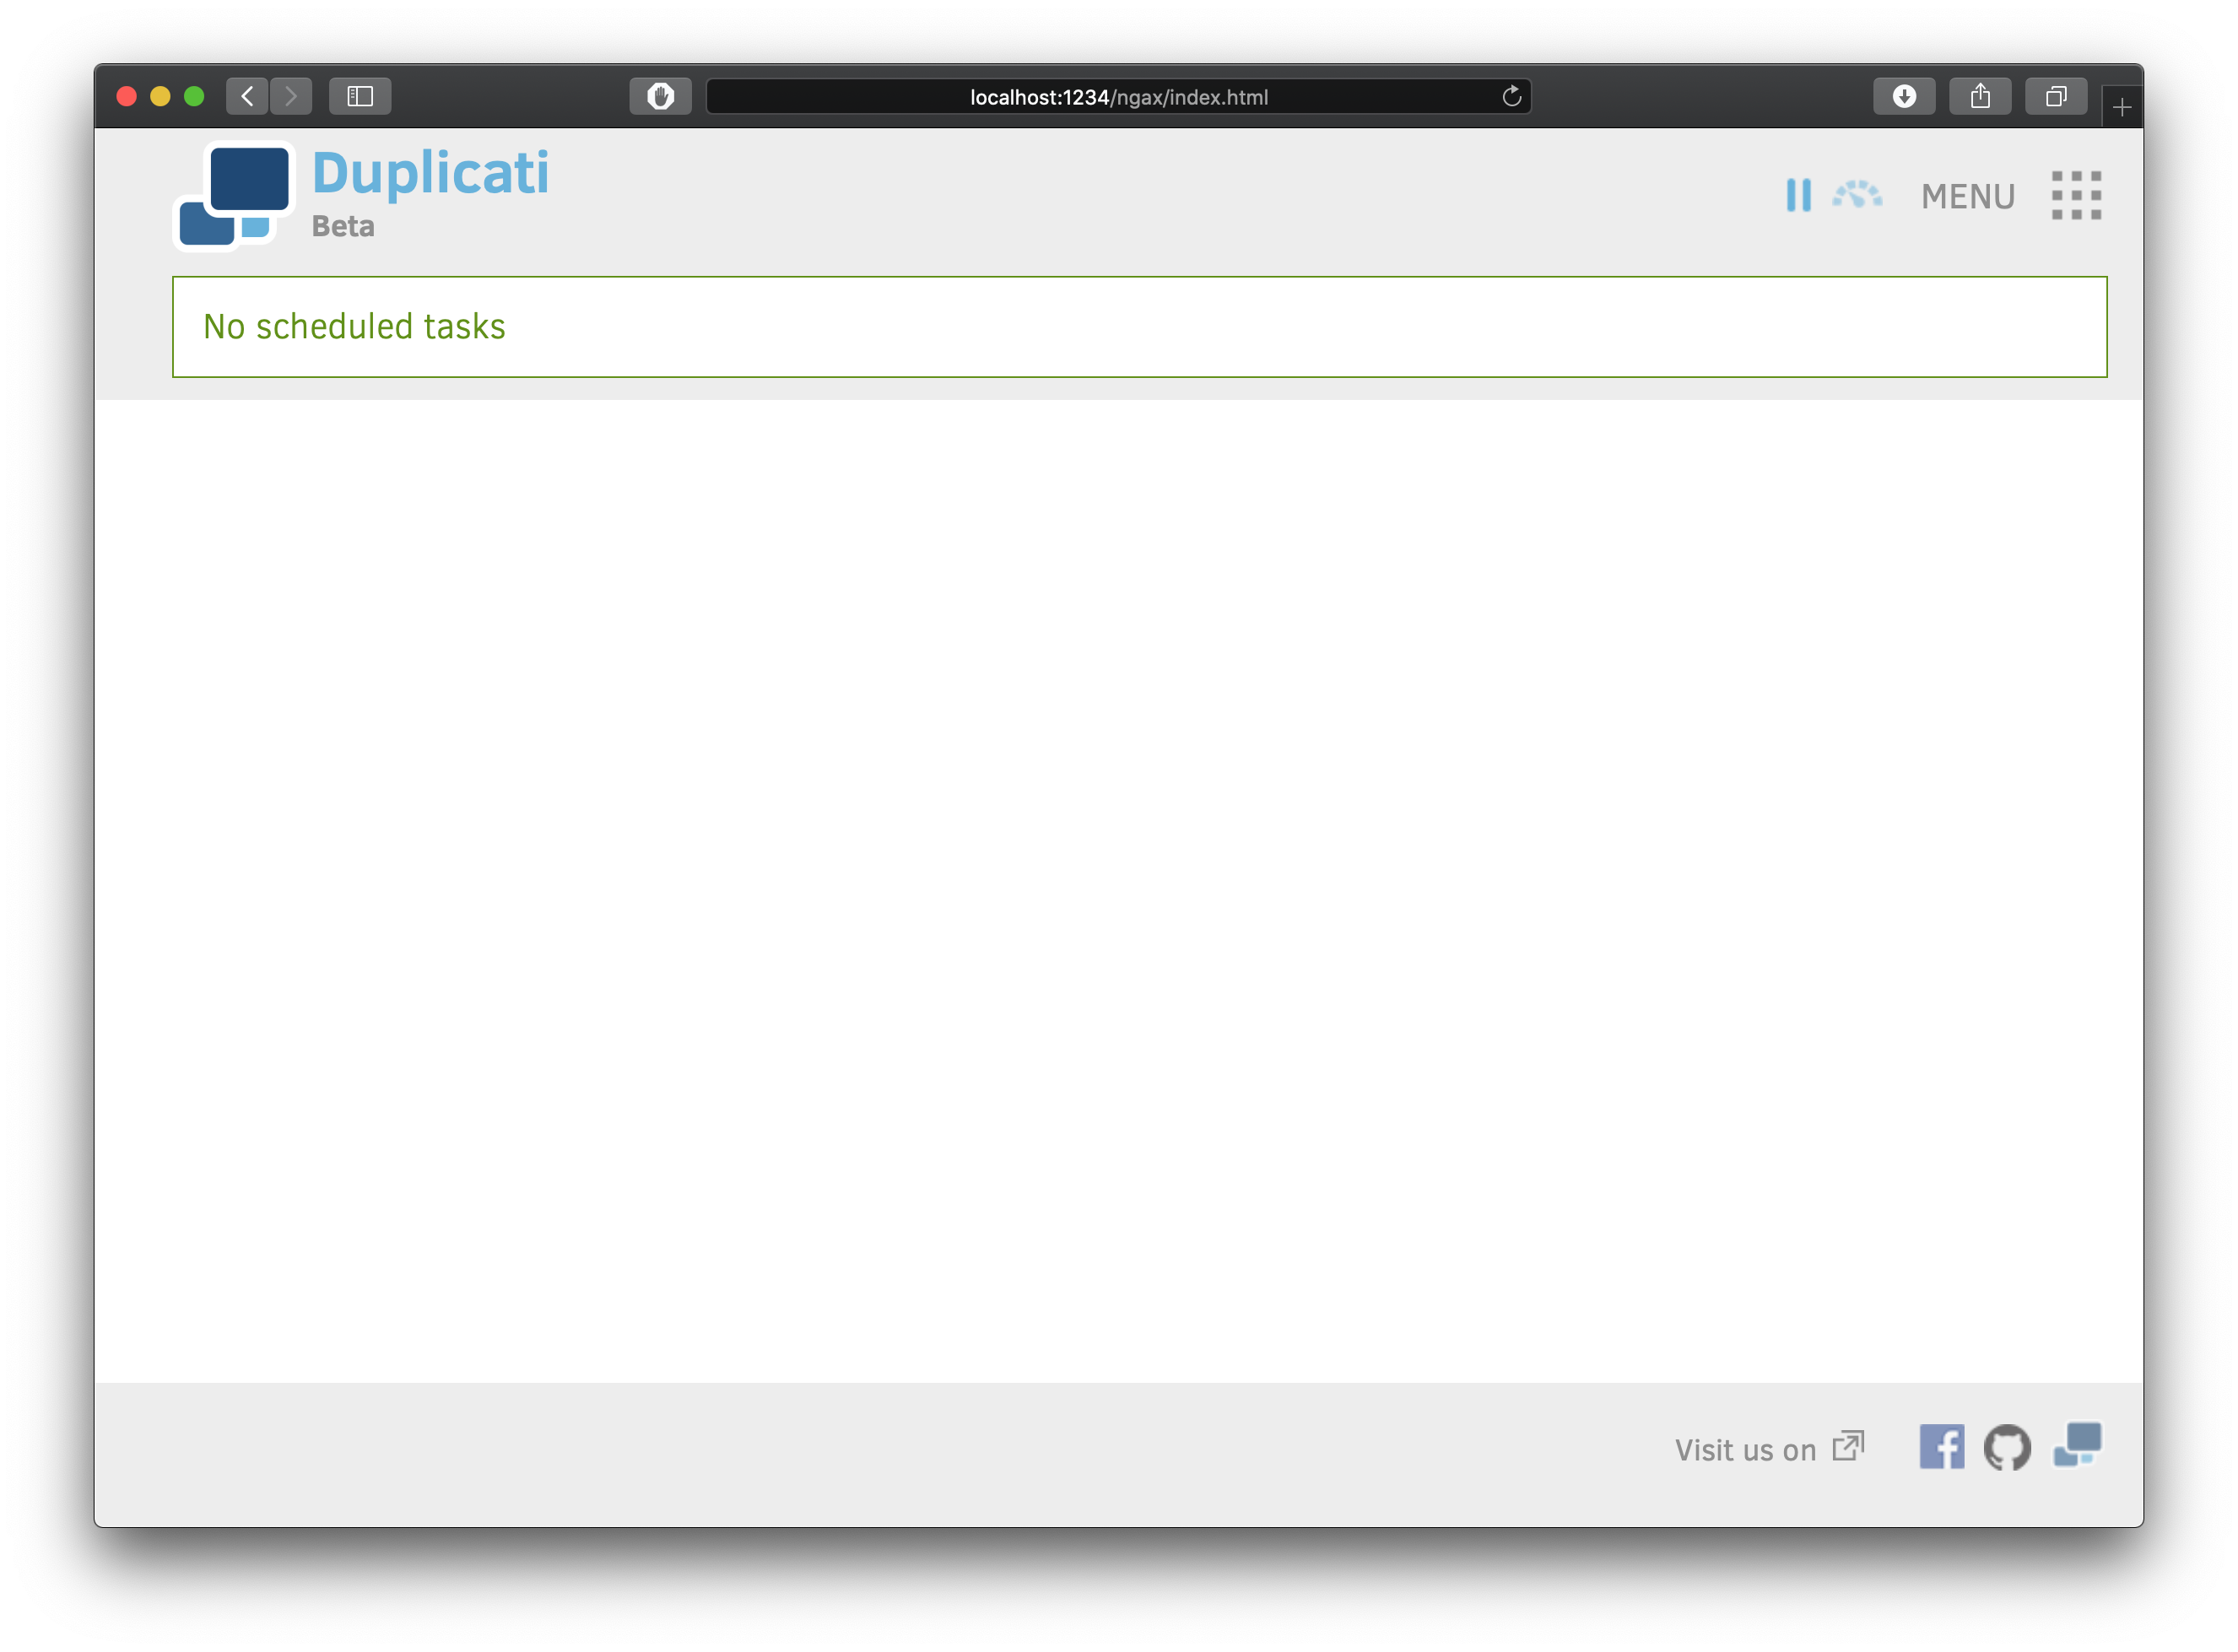
Now open up your favorite browser and go to http://localhost:1234 (if your port is 1234, just click the link).
This will show you the Duplicati web interface:
Add Backup
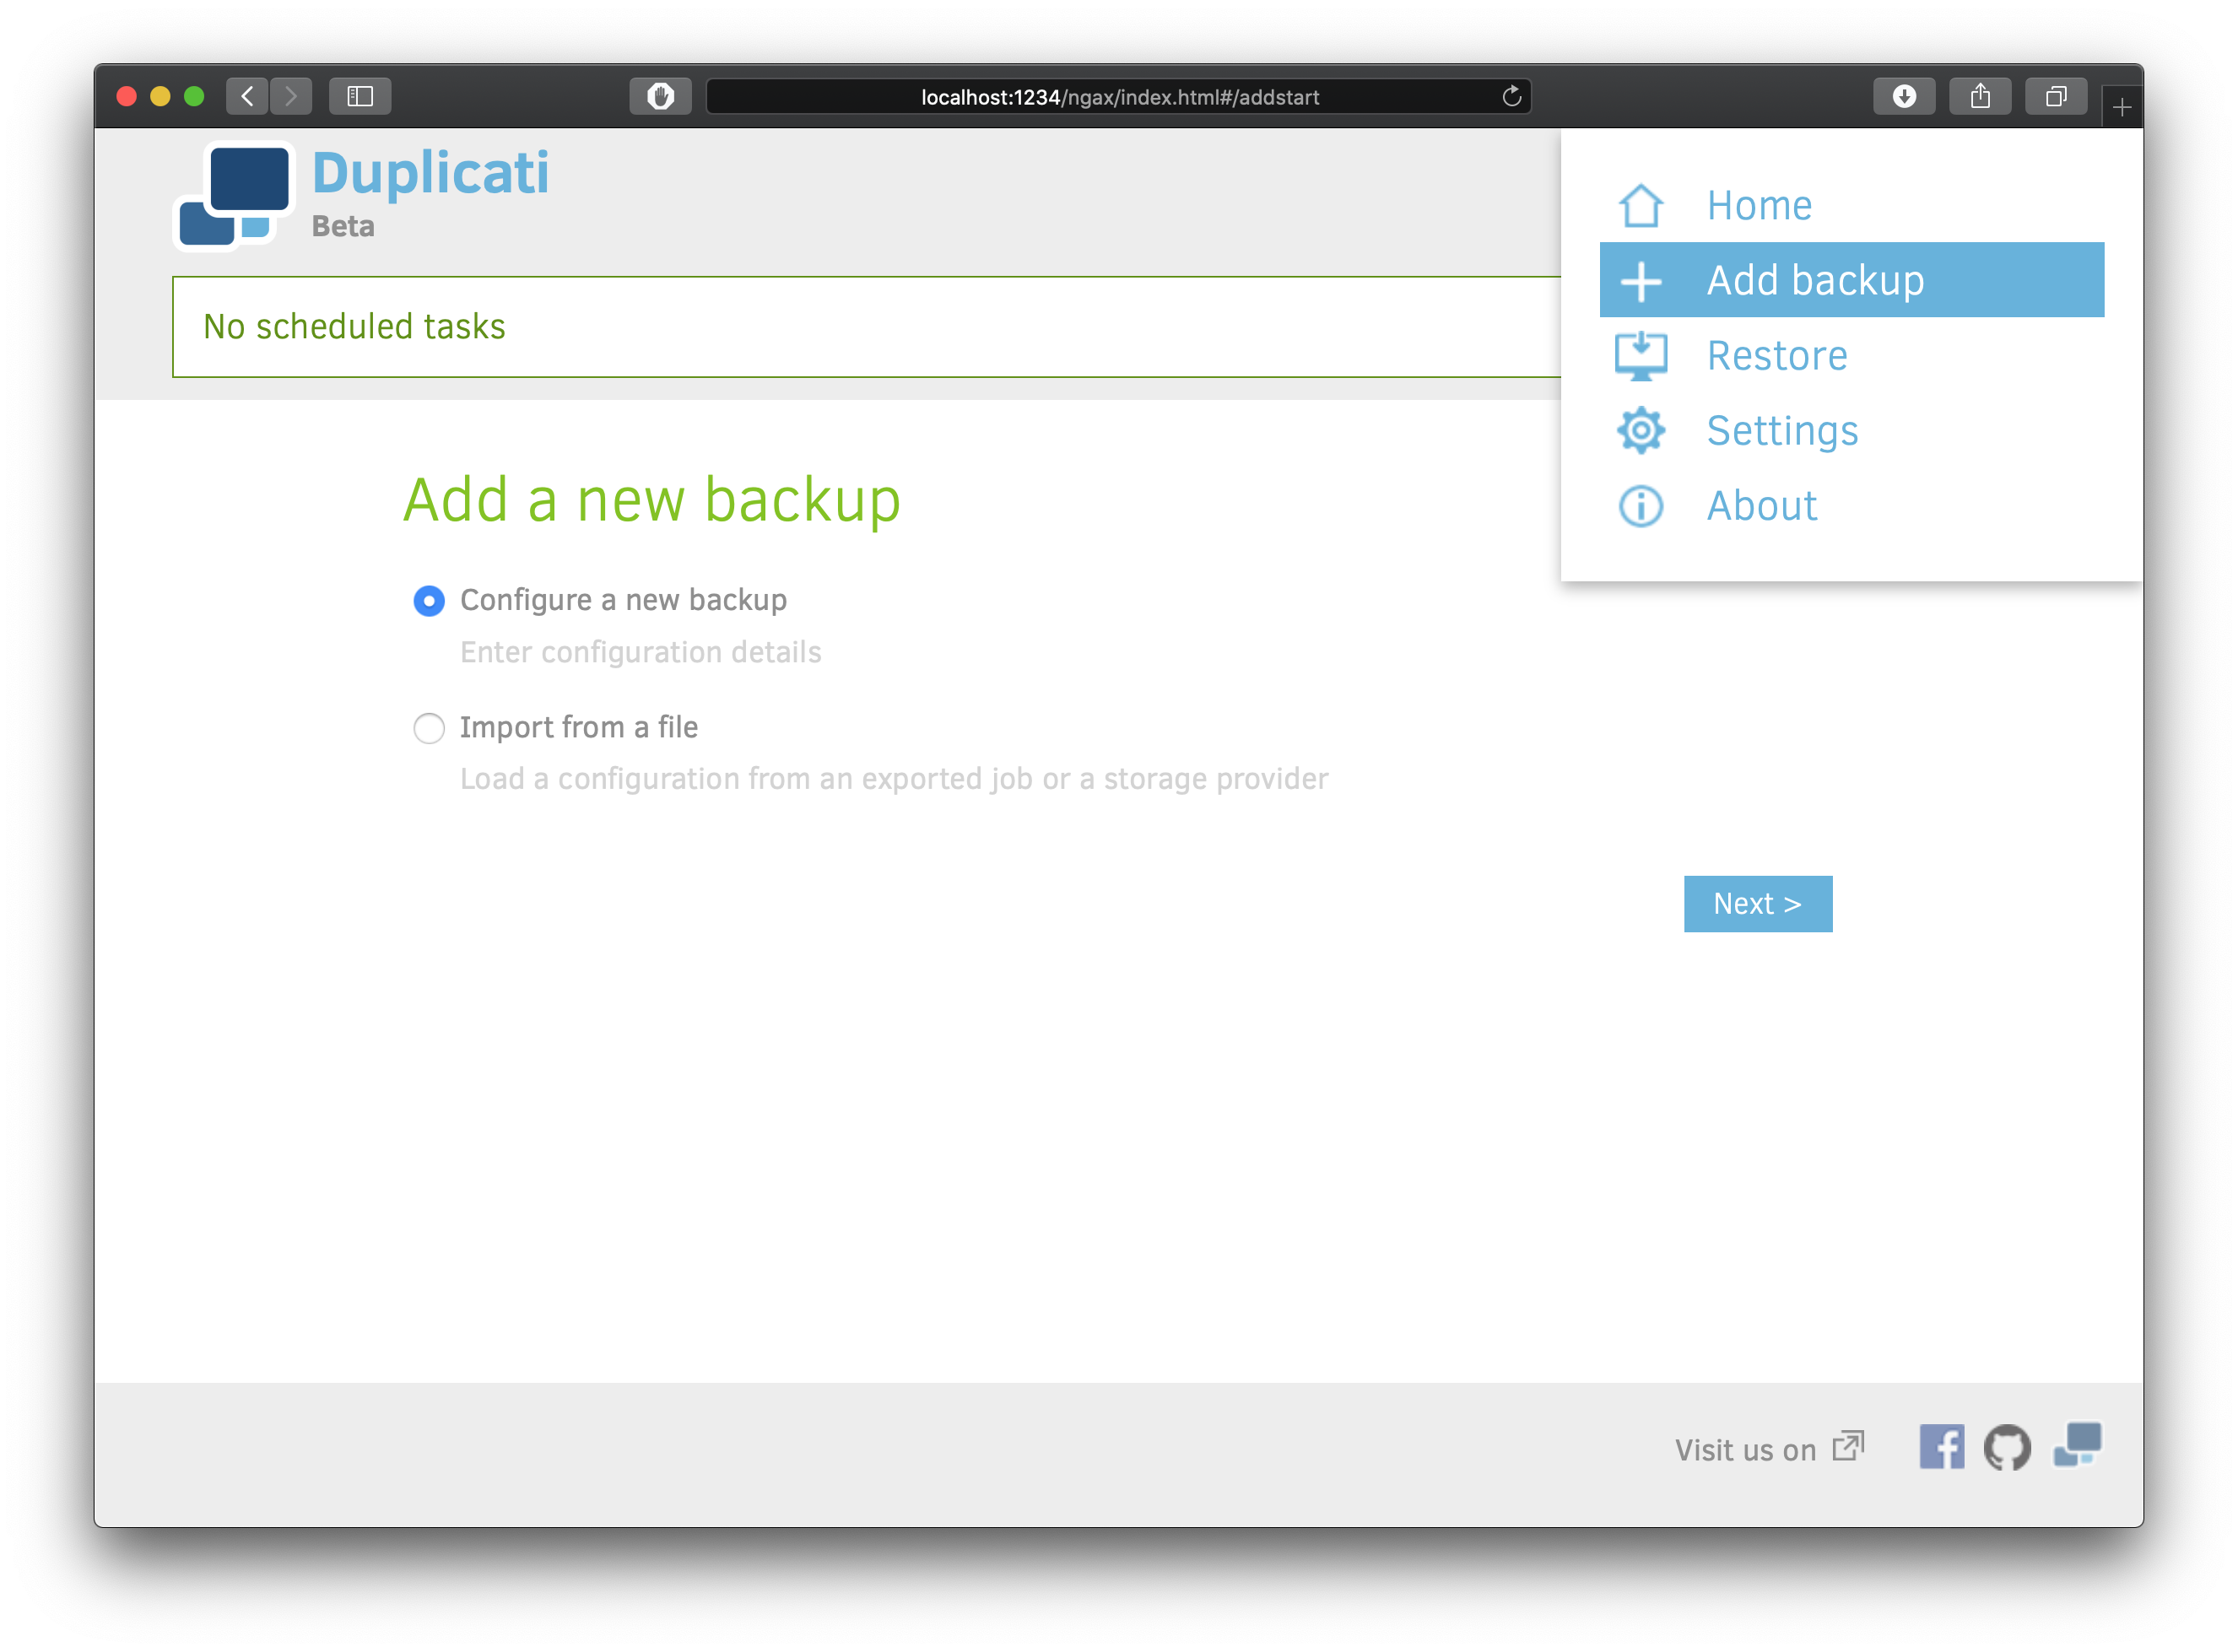
Usually you want to have multiple backup sources, I recomment following the 3-2-1 Backup strategy. Basically, the strategy consists on having a readily recoverable backup plus an off-site backup, for this reason I’m backing up to Dropbox. Chech the Storage Providers List to see what’s convenient for you.
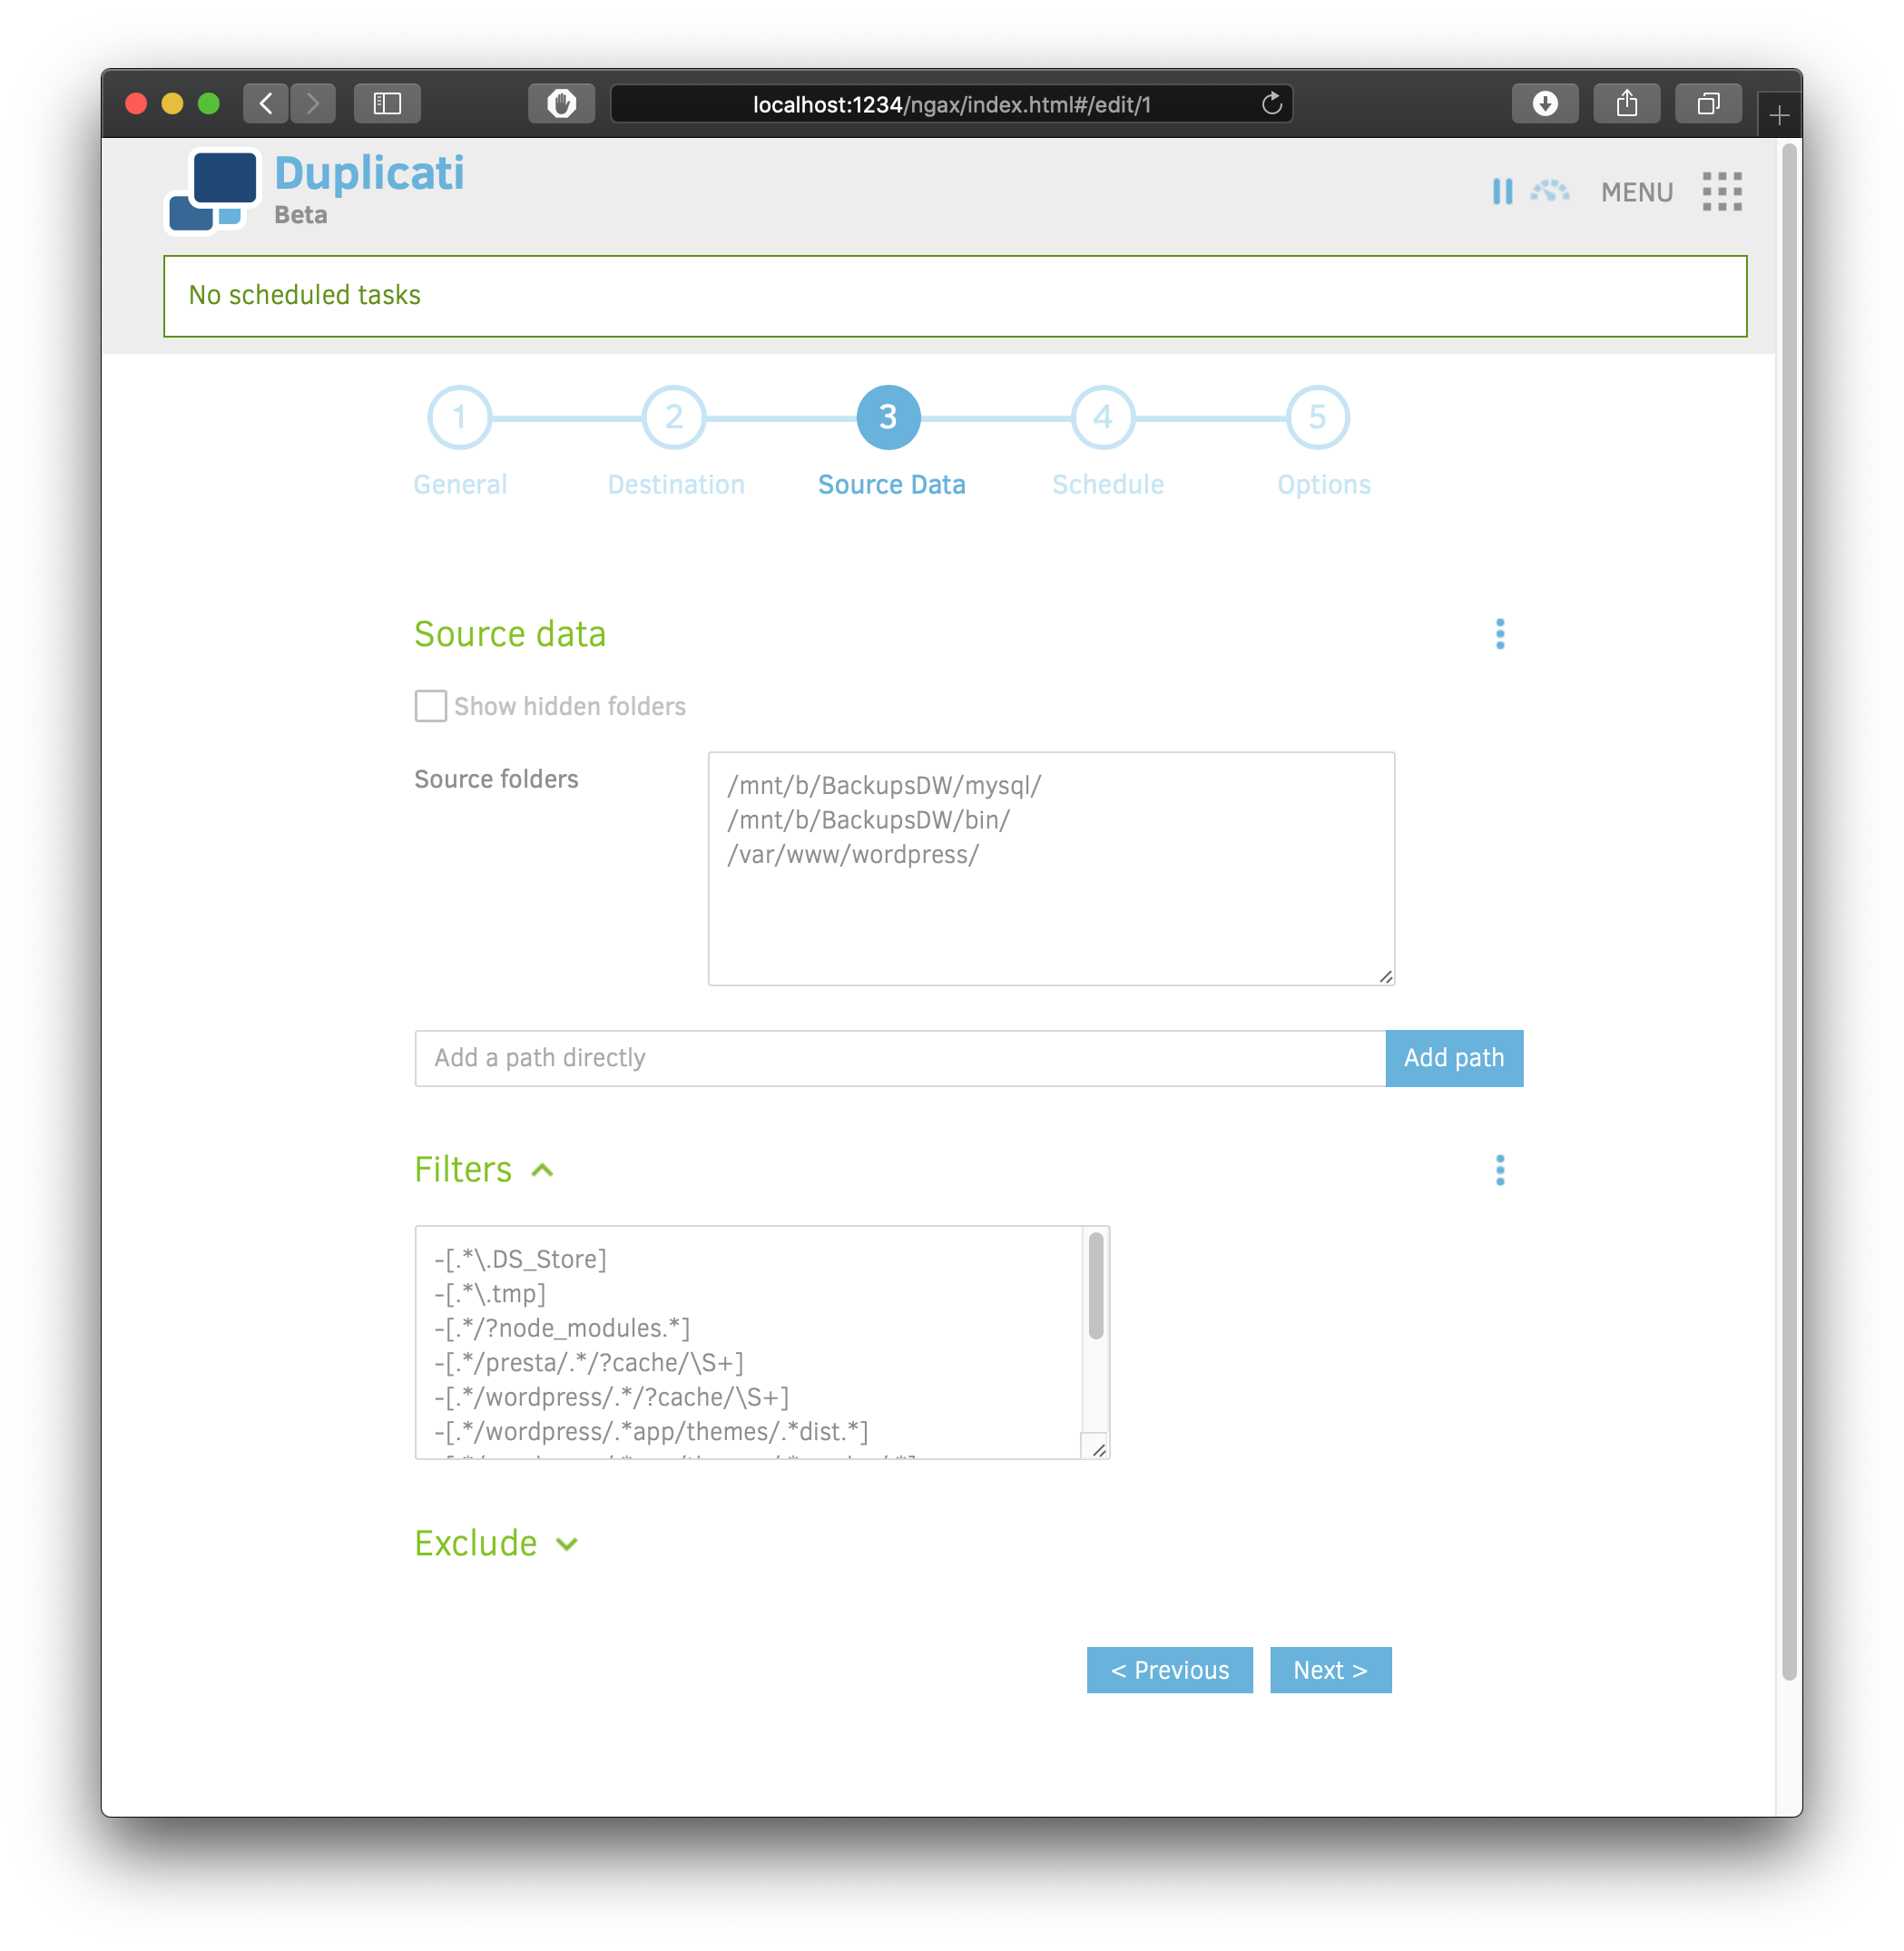
Source Data
These are the folders I’m adding to the backup, as I’m only hosting Wordpress sites. Make sure to backup everything your app uses.
/etc/mysql/
/etc/nginx/
/etc/wo/
/var/www/
/var/log/mysql/
Change the Filters section to text, and you can paste my rules as a baseline:
-[.*\.DS_Store]
-[./*.gz]
-[.*\.tmp]
-[.*/?node_modules.*]
-[.*/presta/.*/?cache/\S+]
-[.*/wordpress/.*/?cache/\S+]
-[.*/wordpress/.*app/themes/.*dist.*]
-[.*/wordpress/.*app/themes/.*vendor/.*]
-[.*/wordpress/.*vendor/.*]
-[.*/wordpress/.*fly-images/.*]
-[.*/ruby/.*log/\S+]
-[.*/ruby/.*tmp/\S+]
You can read this post on filters for more info and examples.
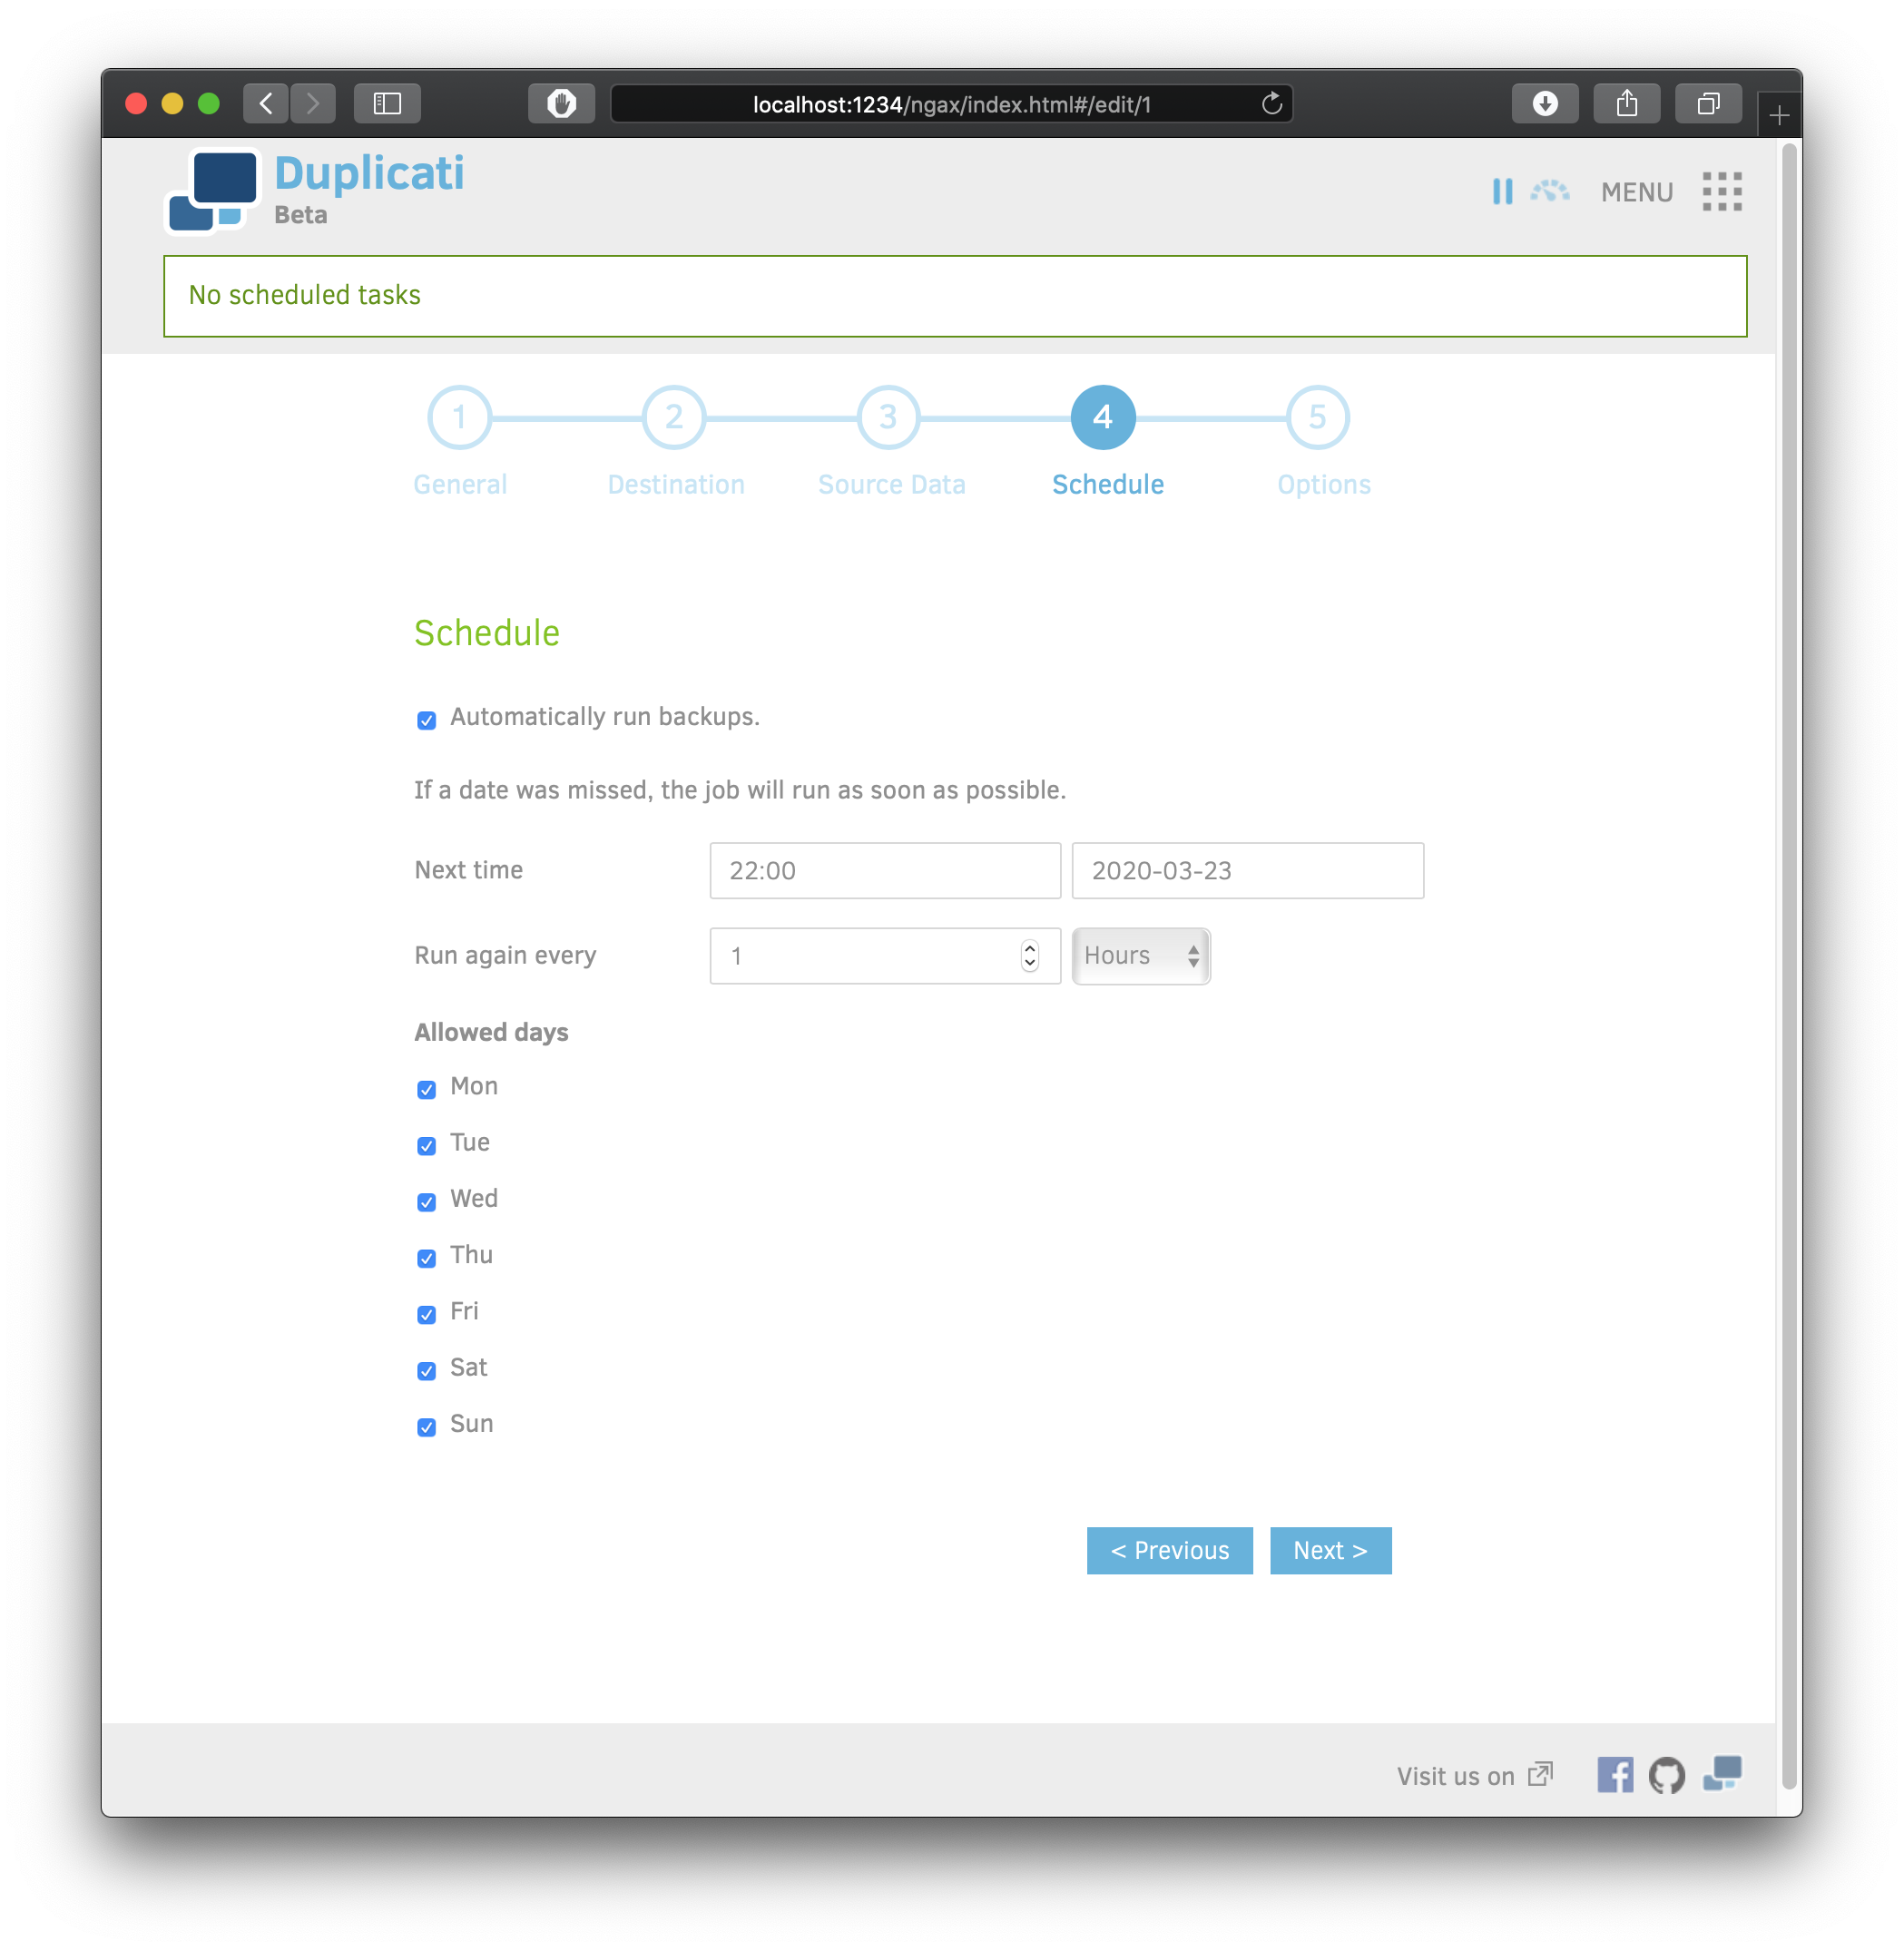
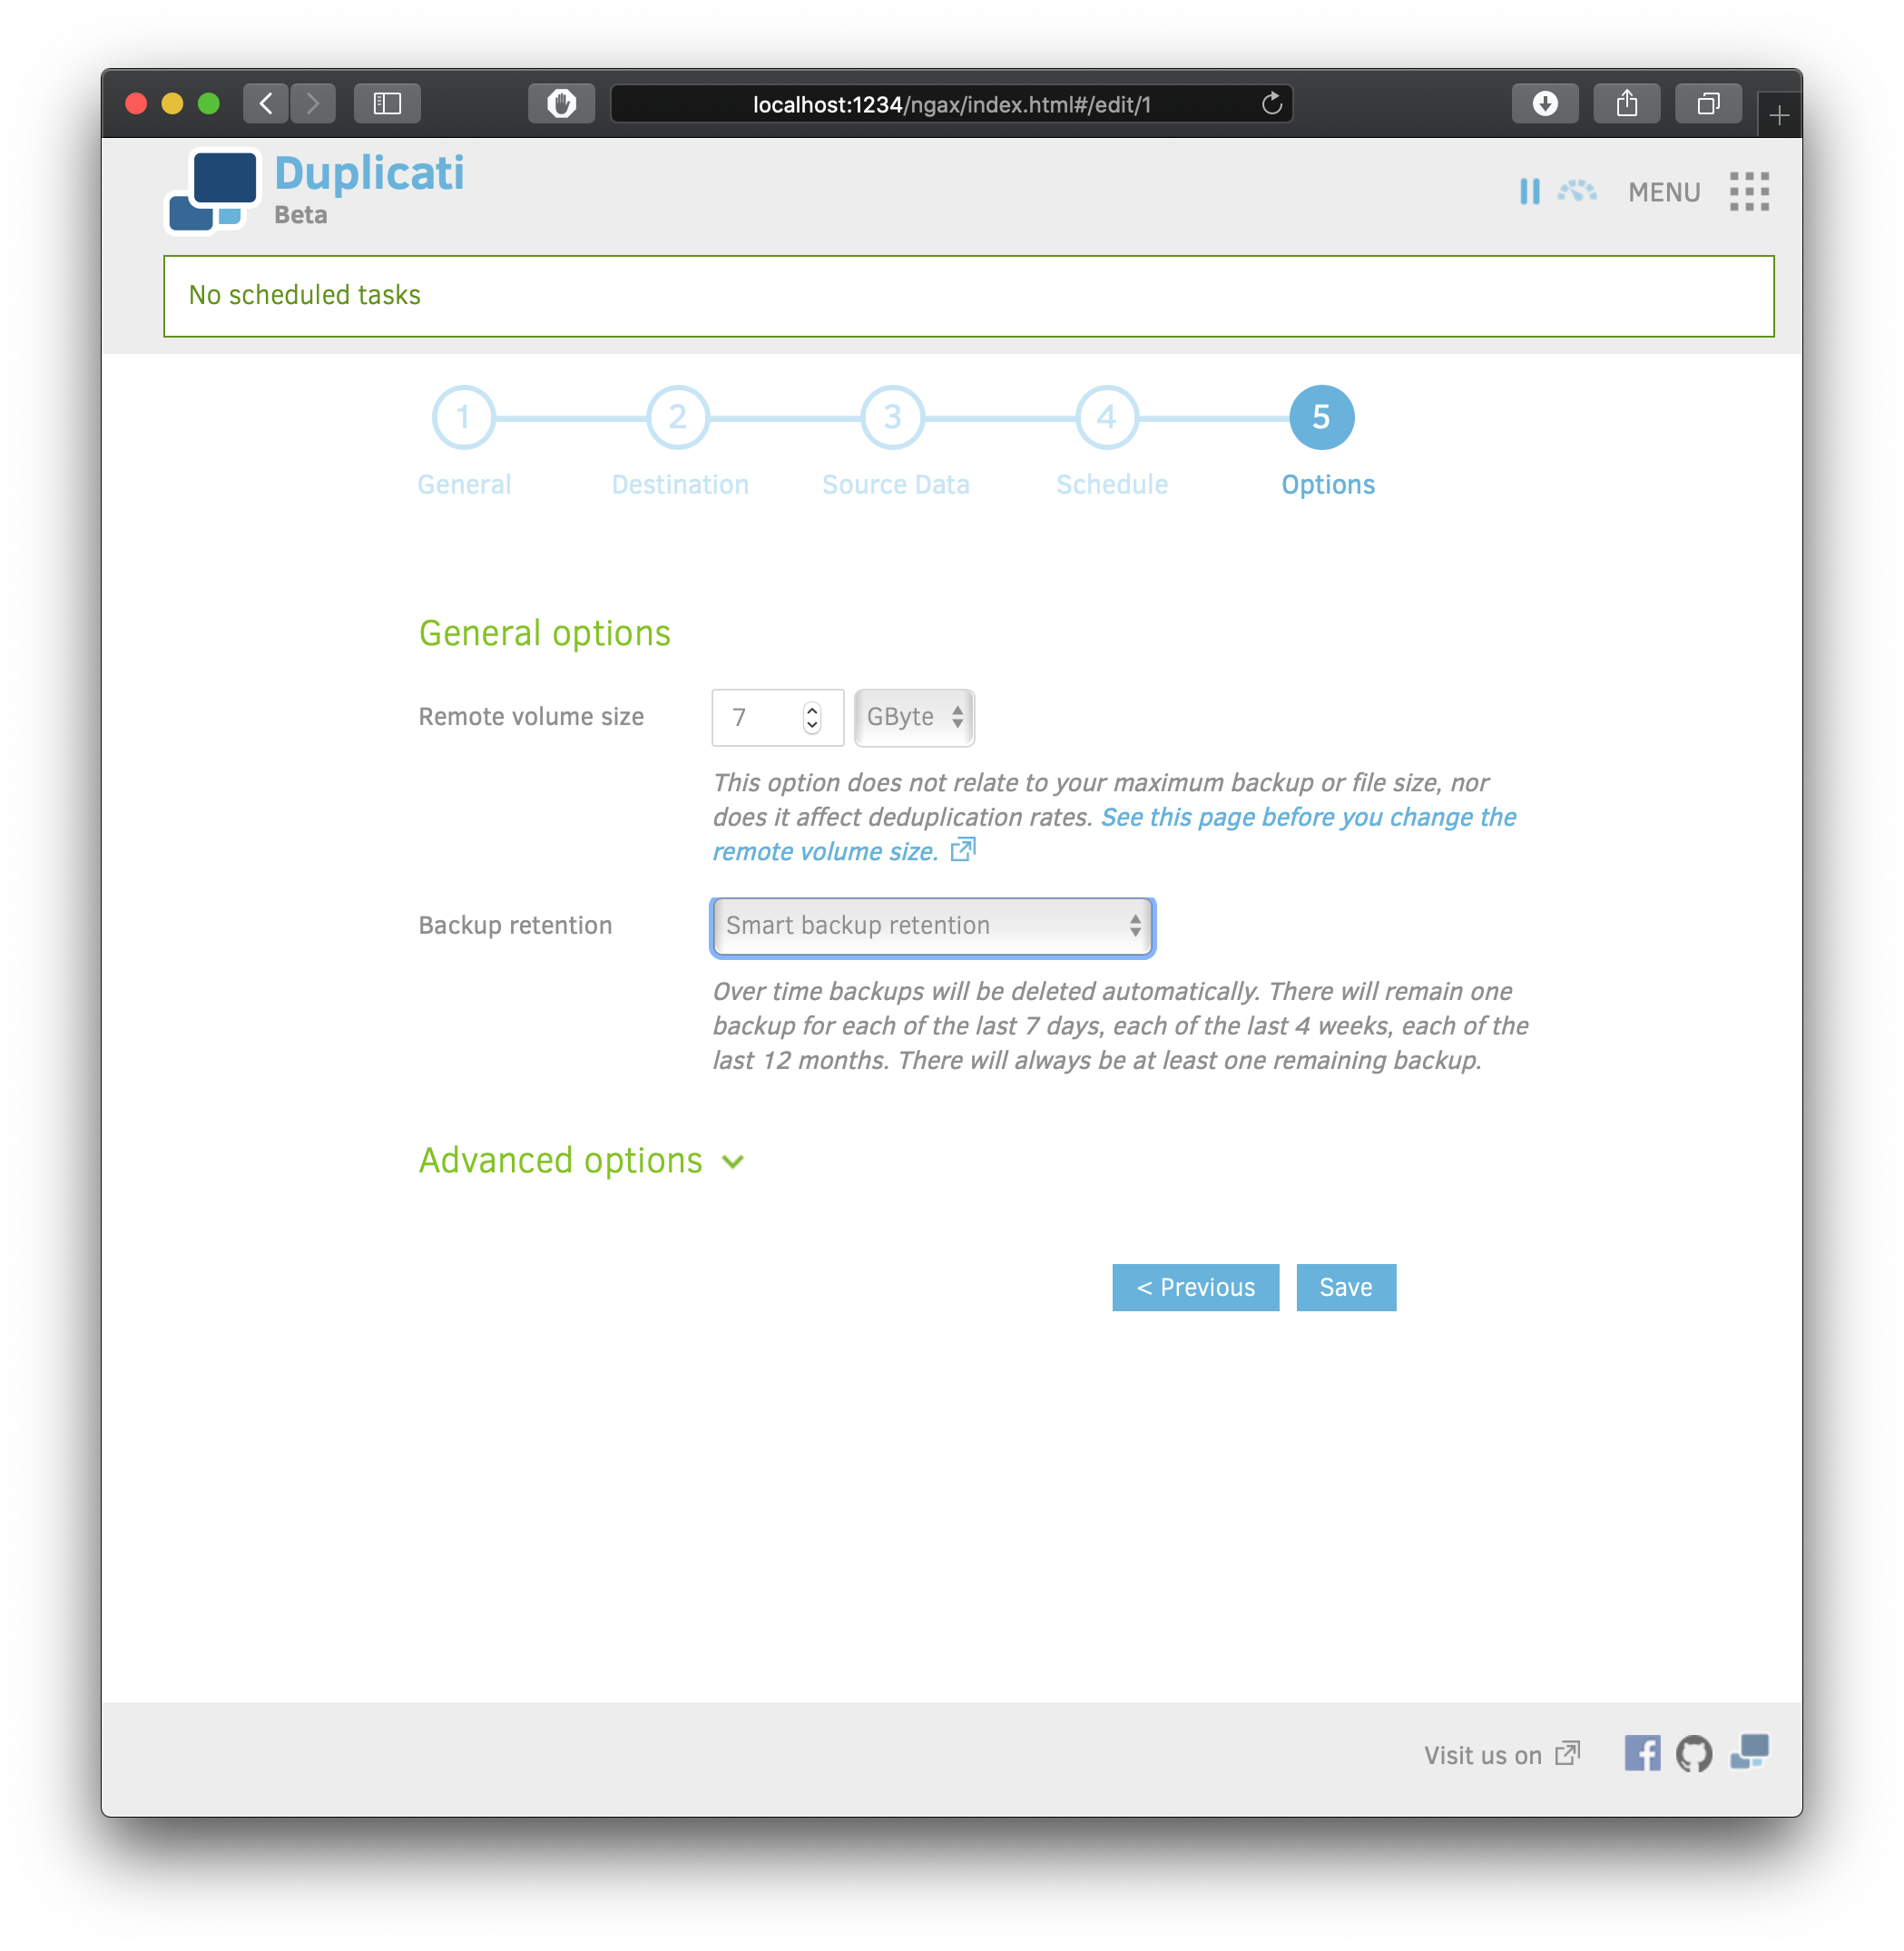
Since Duplicati works with incremental backups, I think is safe for my server to make hourly backups without performance loss and without taking much space.
Final steps
Run backup
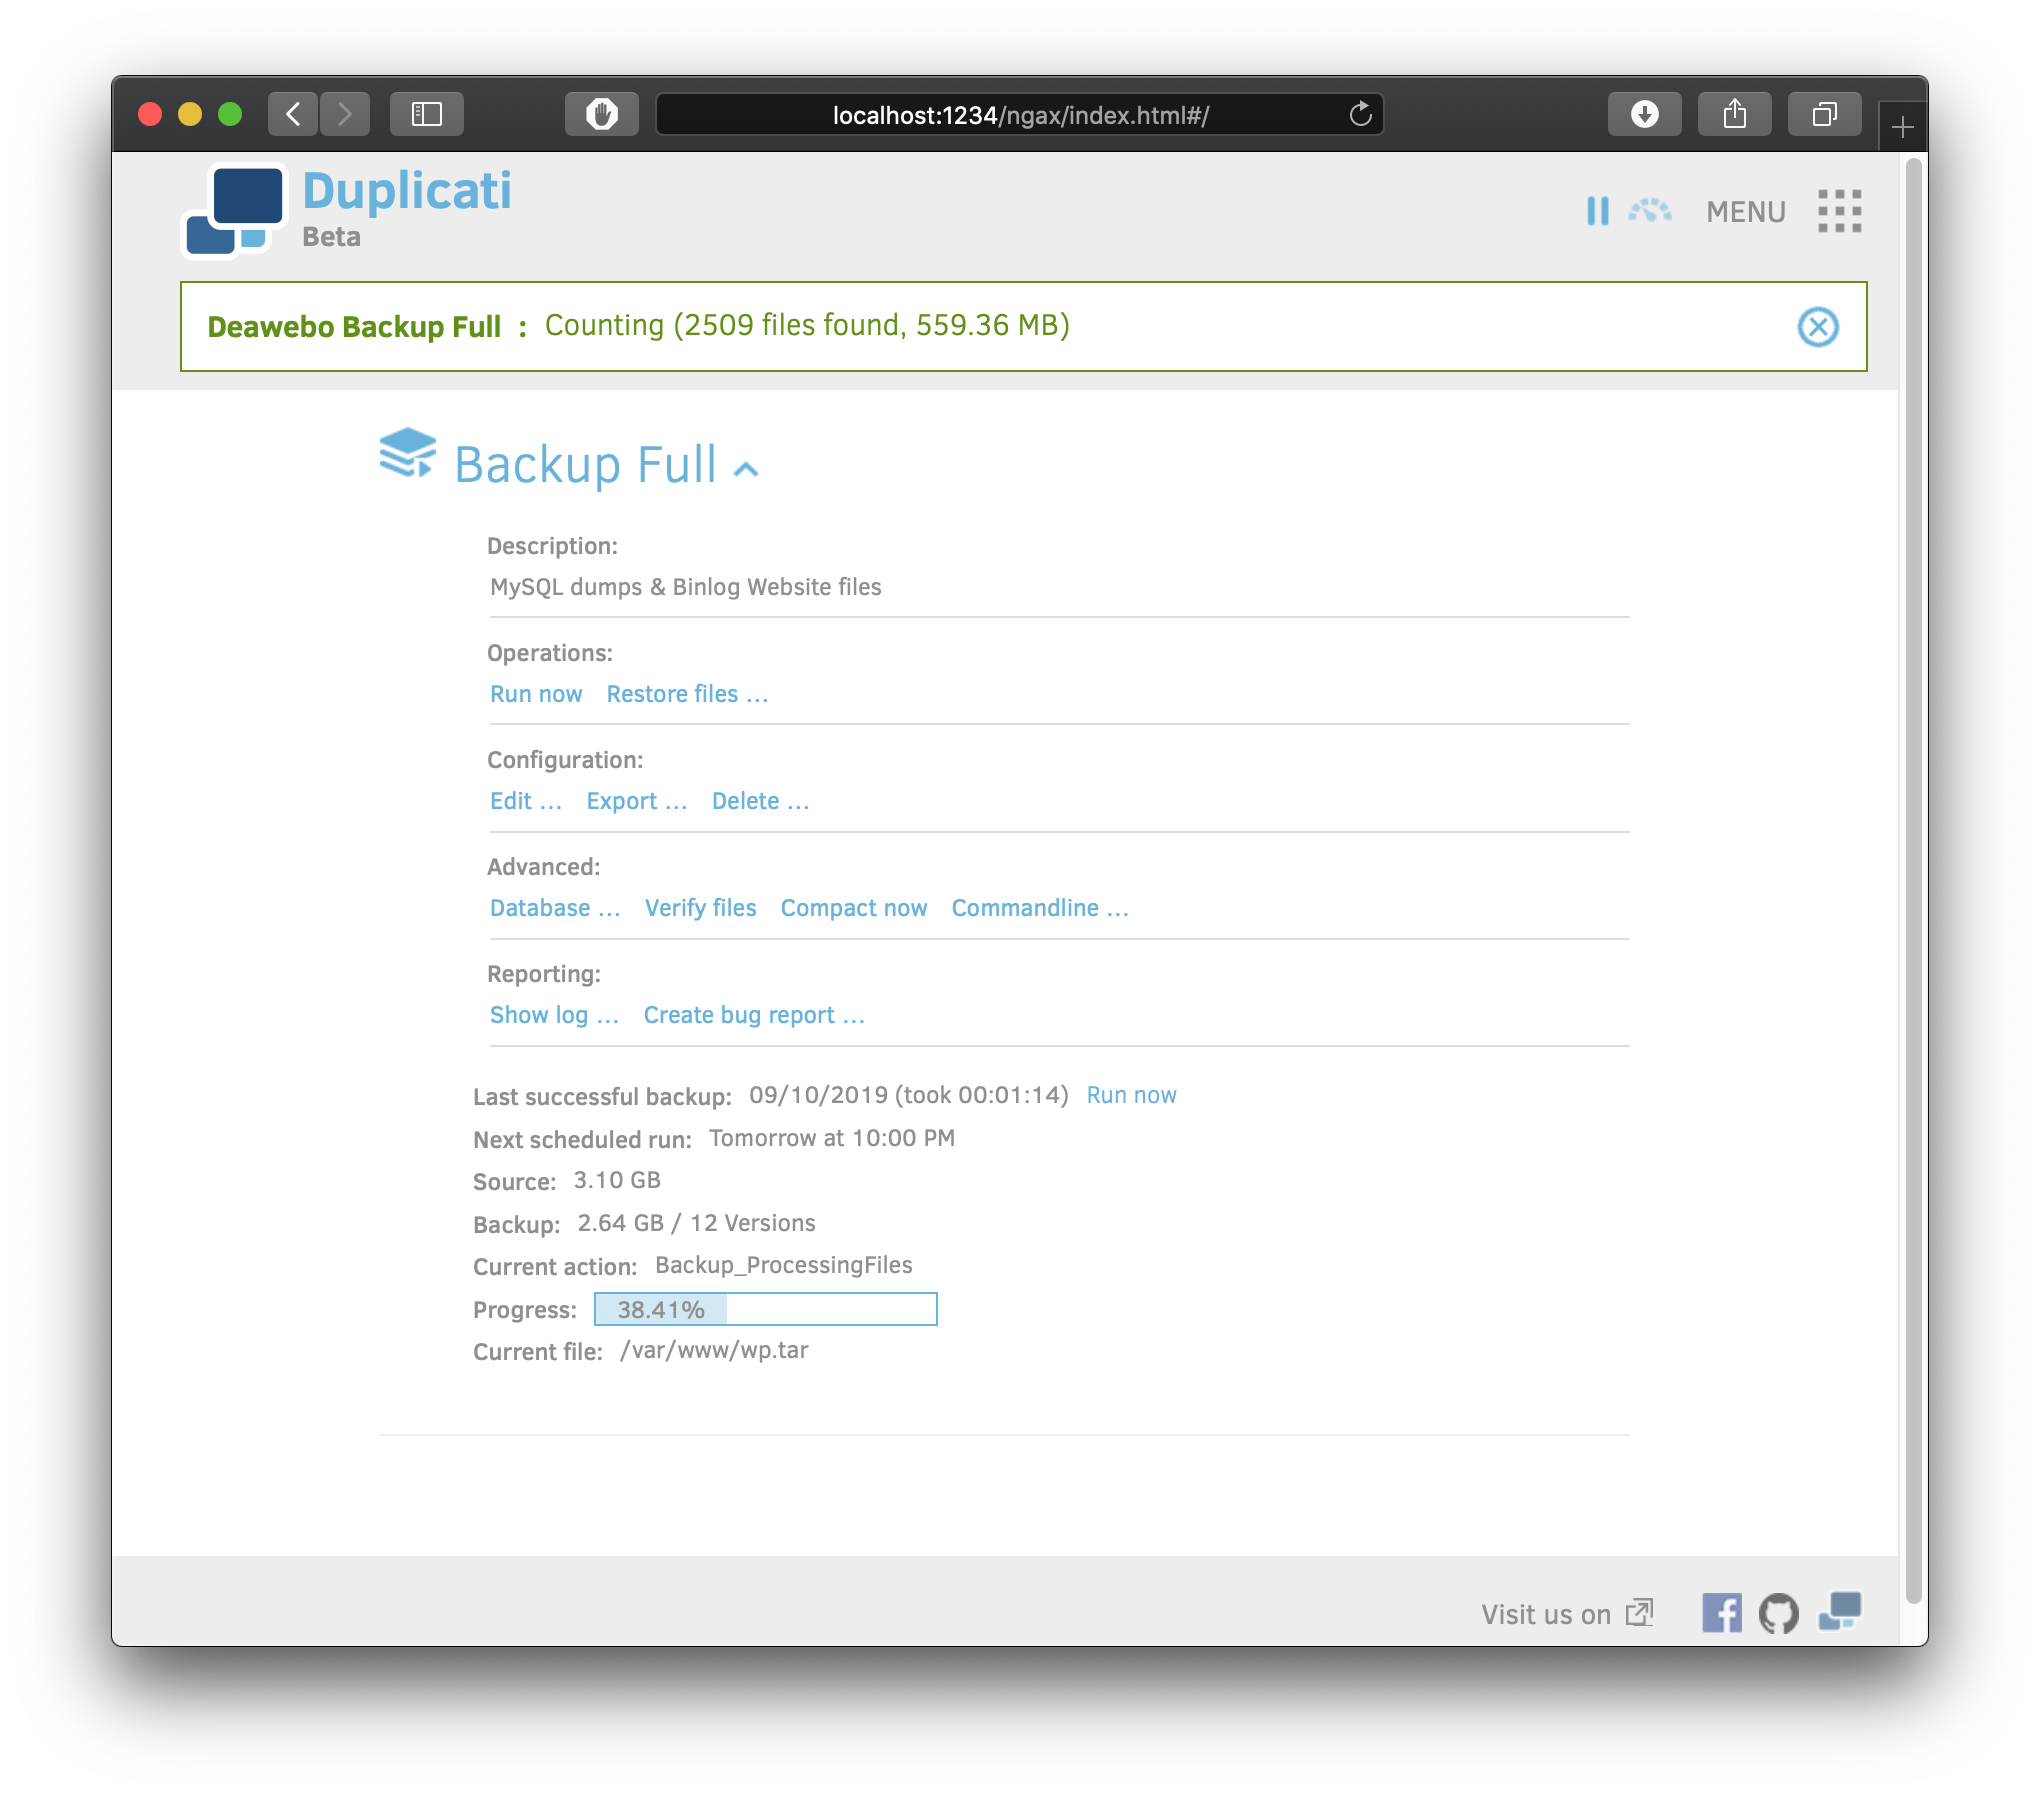
That’s it! make sure to check periodically if backups are running, and test-restore every now and then to check for integrity.
More info: https://duplicati.readthedocs.io/en/latest/